After gathering material and inspiration I usually begin my work with sketches visualising my ideas. These sketches are rough and not to scale or perspective but you have to start somewhere. As the next step I build up a 3D scale model with a CAD Engine. This is quite unusual for a wargaming hobbyist because it takes some time but I learnt how to do this in college and it grants me two valuable benefits:
- A 3D model gives you an idea of scale and proportions. For instance you can estimate if a door is big enough that a model could walk through, if a staircase is too steep or if a miniature can be seen from a specific viewpoint. I can arrange the miniatures and other elements on the diorama until I am content with everything without ever reworking the building materials.
- When I build stuff that is not rectangular I use templates to create the shape of the foam board, wood or other materials. With a 3D model I can easily generate these templates and print them on a sheet of paper. Templates are always handy especially when building elements that should be very similar to each other like columns or arcs.

After printing the templates I started to build up the structures with expanded Styrofoam (I will explain the different types of Styrofoam and its properties in a tutorial in the future. Stay tuned!). This material is cheap and fairly workable with a hot wire cutter (which I will show you in a later tutorial as well). I glued the basic structure onto an MDF board stiffening it with toothpicks.

To get a rocklike surface I could have carved some lines into the foam but I used another very simple technique here and glued rectangles of cardboard to it with PVA glue. This is a very easy way to resemble masonry and it adds some depth and texture to the surface. I used some tape to cover the biggest gaps between the pieces before applying the cardboard.

I left some areas blank where I wanted the mason work to be heavily eroded. The cardboard and Styrofoam surface will be coveredwith texture paint at a later stage .
On a diorama I like to merge my miniatures as seamlessly as possible into the terrain without cutting them from their bases. Therefore I lower them just a little into the ground so that the edge of the base aligns with the surface.

After that I work out the last details and filled the remaining gaps with a filler. One or two layers of texture paint were applied to all stone structures to cover the paperlike texture of the cardboard and bubbly structure of the expanded Styrofoam. Small rocks and stones were added with PVA glue to the ground followed by coarse and fine sand to coverup everything.

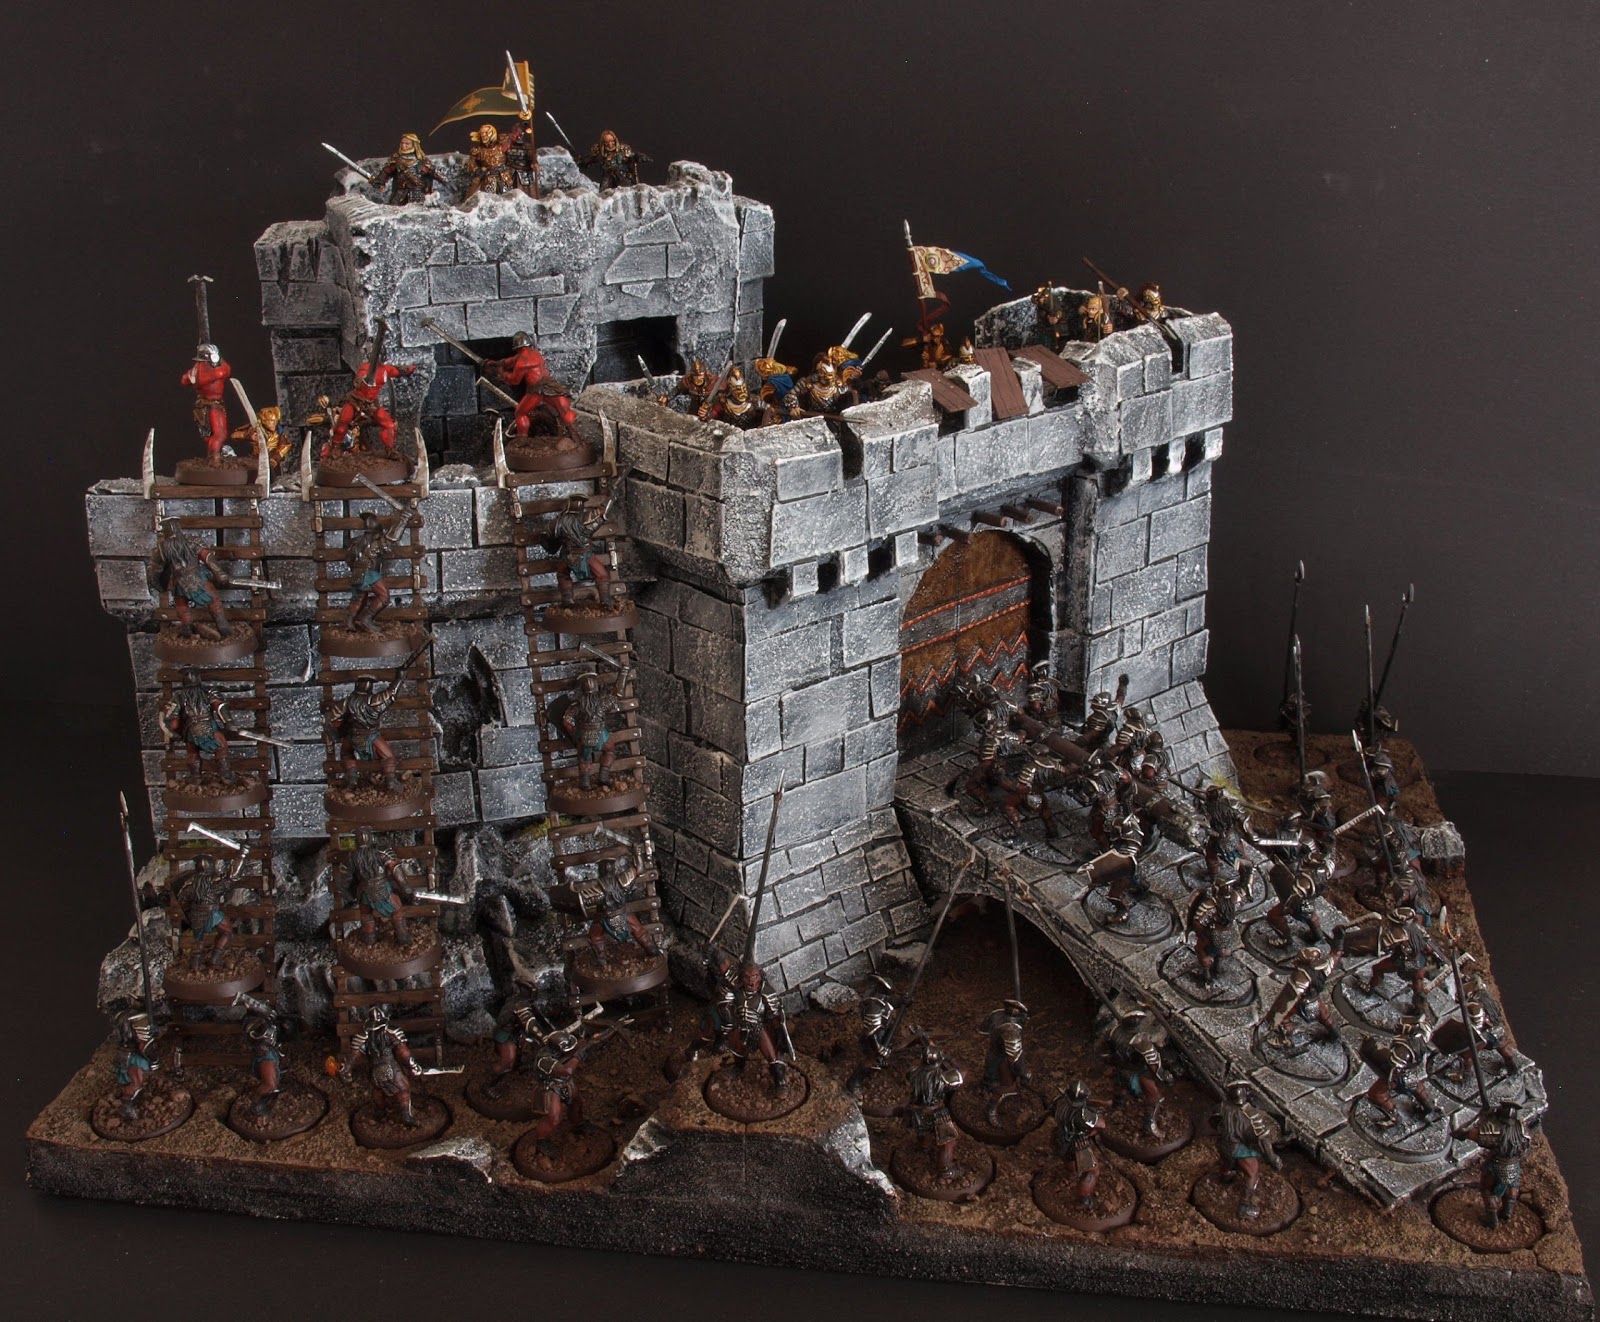
After that I primed the whole showcase in black acrylic paint and used mainly drybrushing techniques to add some color to it. As I wanted the soil to be muddy and trampled by the uruk-hai I added only a little flock and static gras here and there.
Next up will be a slideshow of the finished showcase and some shots of the miniatures that are display in the showcase.